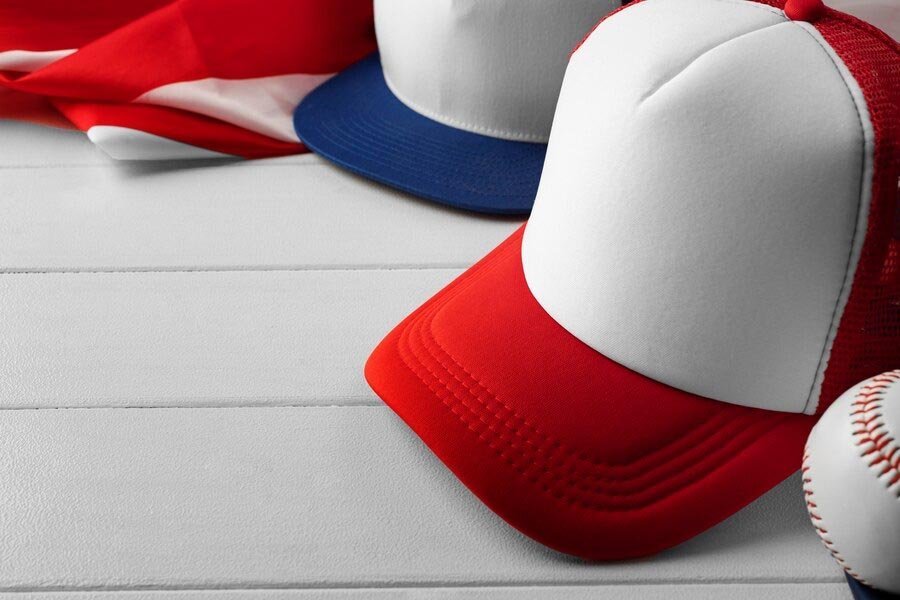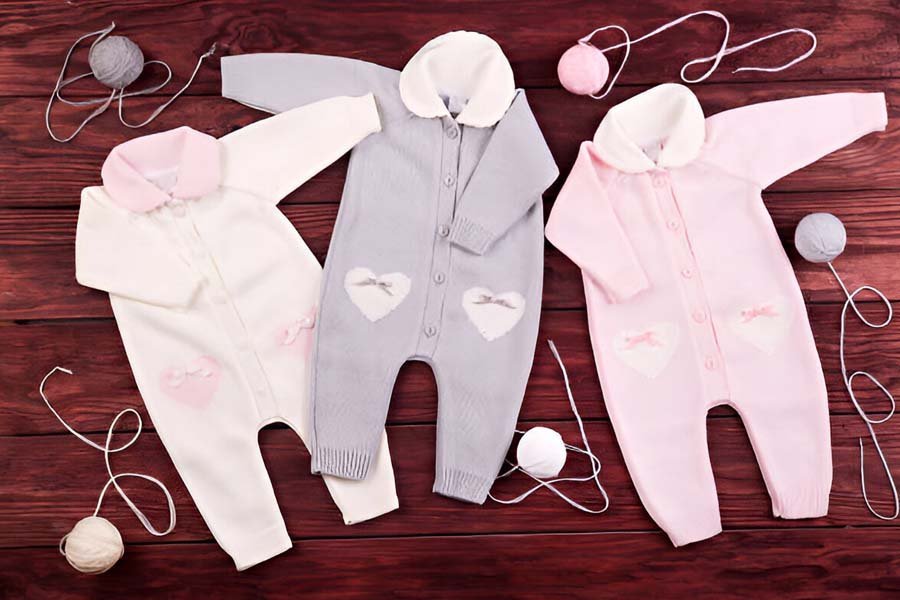
The vast selection of clothing outlets available today gives consumers a seemingly endless list of choices when it comes to finding T-shirts that suit their individual styles, tastes, and body types. But what if you have a very specific design in mind?
If you’ve created or stumbled upon a design that you believe would make the perfect T-shirt, then learning how to print your very own T-shirt at home might be the best course of action. Whether you intend to turn this into a side hustle, a hobby, or you simply want to make a garment that’s highly personalized and one-of-a-kind, at-home T-shirt printing is a surprisingly easy solution.
Materials and Tools for Printing T-shirts at Home
In order to get your at-home T-shirt printing practice off the ground, you’ll need to invest in the following materials and equipment:
- Print transfer paper: You can choose between light transfer paper (best suited to light-coloured T-shirt fabric) and dark transfer paper (best suited to dark-coloured T-shirt fabric)
- An inkjet printer
- A T-shirt of your choice
- A flat iron
- Image editing or design software
- A pair of scissors
An iron-safe, smooth and tightly woven textured T-shirt works best for this practice. We recommend a shirt made from 100% cotton, at least when you’re first starting out, as this material is much easier to work with and renders great results.
6 Steps to Print a T-shirt at Home
The easiest and most cost-effective method of printing a T-shirt at home requires the materials listed above and follows the steps outlined below in a process known as heat transfer paper Printing.
An alternative method, heat transfer vinyl printing, requires a vinyl cutting machine, which can be worth the investment if you hope to practice at-home T-shirt printing regularly for business or recreational purposes.
However, the method outlined in the steps below is not only easier, but it’s also cheaper as it doesn’t require a vinyl cutting machine. That makes it perfect for both regular use and one-off T-shirt making!
Step 1: Choose Your Design
If you already have a design you love, then this step is already done! However, if you’d like to try out printing a T-shirt at home and have no idea what you’d like to put on the T-shirt, this requires a bit of consideration:
- What kind of message would you like the T-shirt to send?
- What color palette do you have in mind?
- Is there a personal brand or story you would like the T-shirt to communicate?
These are all important questions to ask yourself when deciding on an impactful and beautiful design.
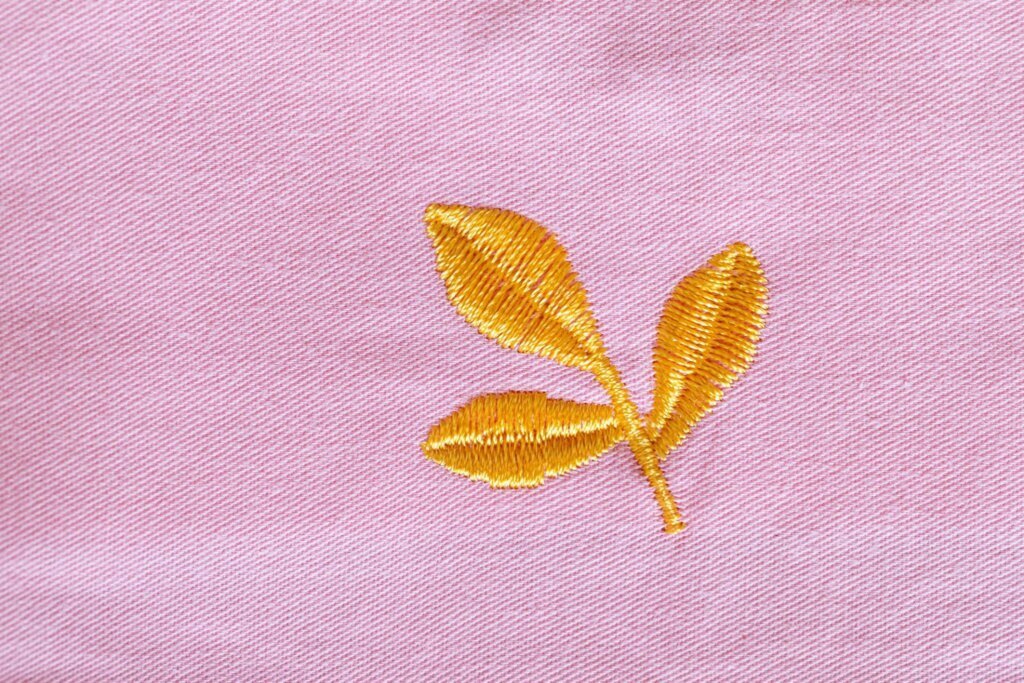
Working with a professional designer will result in a beautiful design that works perfectly on any T-shirt, but it’s by no means a requirement. You can do your own research online to get inspiration and design your own creation, or you can purchase an existing design from an online design website. To create top-notch works of art from scratch, we recommend investing in Adobe or other professional design software that can help you craft a design you’re happy with.
Color choice is important here: a design that uses lots of dark colors might not show up well on a dark-coloured T-shirt, and vice versa with light colors on a light-coloured T-shirt. Try to find a design that has contrasting colors to your T-shirt, as this will give you the best printing results.
If you’re using an image, high-quality vector images are the way to go to ensure there is no pixelation when the design is enlarged and transferred to your T-shirt.
Step 2: Prepare Your T-shirt
If you’re using a T-shirt you’ve already worn before, all you need to do here is ensure the T-shirt is clean and give it a quick iron to ensure a smooth, flawless canvas for your design.
However, in the event that you’ve chosen to purchase a brand new T-shirt for this activity, it’s best to wash it first to make allowances for any shrinkage that may occur. You should also allow ample time to dry the T-shirt completely, either on a clothes horse, clothesline, or in the dryer.
Step 3: Perform a Test Print
It’s wise to perform a practice run of your print on regular paper before using any transfer paper to ensure that the dimensions and quality of your design meet your expectations. Simply insert a few pieces of regular A4 paper into your printer’s sheet feeder and play around with your print settings until you are satisfied with the result.
Adjusting your print settings to the highest quality settings will ensure a beautiful print, even if you use slightly more ink. To further improve the quality of your test print, you can increase the DPI of your design in your chosen design software before you download the file.
You can perform these test prints as many times as you like (just make sure you don’t run out of ink!) until you’re happy with how your design comes out on regular paper.
Step 4: Print Your Design
While we previously outlined the difference between light transfer paper and dark transfer paper, it’s also important that you ensure your transfer paper is compatible with your inkjet printer.
Before you start printing your design, there’s one very important step you can’t miss! If you’re using light transfer paper for a T-shirt with a light-colored fabric, you’ll need to mirror your design before you print it. This is because light transfer paper automatically prints designs in the opposite direction to how they appear on your computer screen or on regular paper.
You can usually do this quite easily on your printer settings or in your image preview application, by selecting the option to ‘flip horizontal’. However, you don’t need to do this if you’re using dark transfer paper.
Now that your design is in the correct format and your test prints have rendered a result you’re happy with, it’s time to print on your transfer paper. Simply insert one piece of transfer paper into the printer’s sheet feeder, taking caution to insert it the correct way around. Click ‘print’ exactly as you did when you performed your test print without changing any of the print settings.
When removing the printed piece of transfer paper, be careful not to touch the side with the freshly printed design on it. Set aside and allow it to cool for ten minutes before moving on to the next step.
Step 5: Iron on the Design
Your workspace is important in this next step, during which you’ll be ironing the printed design onto your T-shirt. Clear a sturdy, flat surface, like a desk or a large wooden table, that will give you ample room to iron your print. Printing on an ironing board won’t give you the support you need, so we don’t recommend this. Good lighting is also essential so you can accurately judge the position of your design on the T-shirt.
Preheat your iron for a few minutes on the hottest setting. While you wait, you can use your scissors to cut away any excess transfer paper around your freshly printed design, leaving a generous margin. Now, it’s time to carefully position your design on the front of the T-shirt. There’s no going back once you apply that hot iron! When you’re sure that you’re ready, go ahead and place the design face-down on the T-shirt in its correct position.
Carefully glide the hot iron over the transfer paper and the T-shirt. A full A4-sized design requires approximately 180 seconds of iron application, and half that size requires 90 seconds. Setting a timer on your phone may help you track this time accurately. Apply significant pressure while you’re ironing to ensure that the transfer paper really adheres to the fabric properly.
Remove the iron once this time has passed, but do not remove the transfer paper from its position. Allow the design to cool completely for about ten minutes.
Step 6: Reveal the Final Result!
Are you ready? It’s time for the big reveal! Start by peeling back one small corner of the transfer paper. Once you’ve got a good grip on it, carefully peel the entire piece of paper away smoothly and without stopping.
If you find that your design hasn’t quite bonded to the T-shirt fabric, you can use a sheet of wax paper to re-iron it. Simply cover the design with wax paper and use your hot iron to go over it again, this time applying more pressure.
Make sure you go over every corner of the design thoroughly, paying special attention to the areas you fear may not have bonded properly. You should not re-iron for longer than one minute. Once you’ve removed the iron, wait for the design to cool and peel away the wax paper to see the final result!
Still Struggling to Print a T-Shirt at Home? Ludyway Will Help You Out!
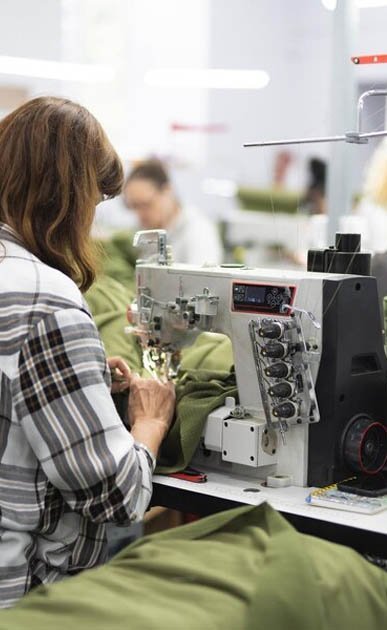
While printing T-shirts yourself sounds easy and can be a lot of fun, it’s not for everyone. If you’re running a T-shirt business, then finding a reliable T-shirt manufacturer can be a more cost-effective and trustworthy solution. Fortunately, Ludyway can step in and take all the heavy lifting off your hands!
Ludyway professional manufactures various types of clothing and wearable accessories to meet bespoke consumer needs. We’ve already helped multiple businesses and industries with their printing needs, selecting only the best quality materials and using our expertise to take care of your print’s fine details.
Affordable pricing meets fast turnaround time at Ludyway, thanks to our efficient streamlining of processes and discount offers for bulk orders. Our advanced printing equipment allows us to produce intricate designs perfectly, delivering superior-quality garments that truly stand the test of time. Our biodegradable materials and fabrics, such as bamboo and linen, help us maintain eco-friendly manufacturing practices.